It is good to incorporate more soyabean into our dishes as it is a healthy option. And tasty too. But I got bored with the usual way I cooked it and tried this one using raw mango. It came out delicious with a slightly tangy taste.
Ingredients
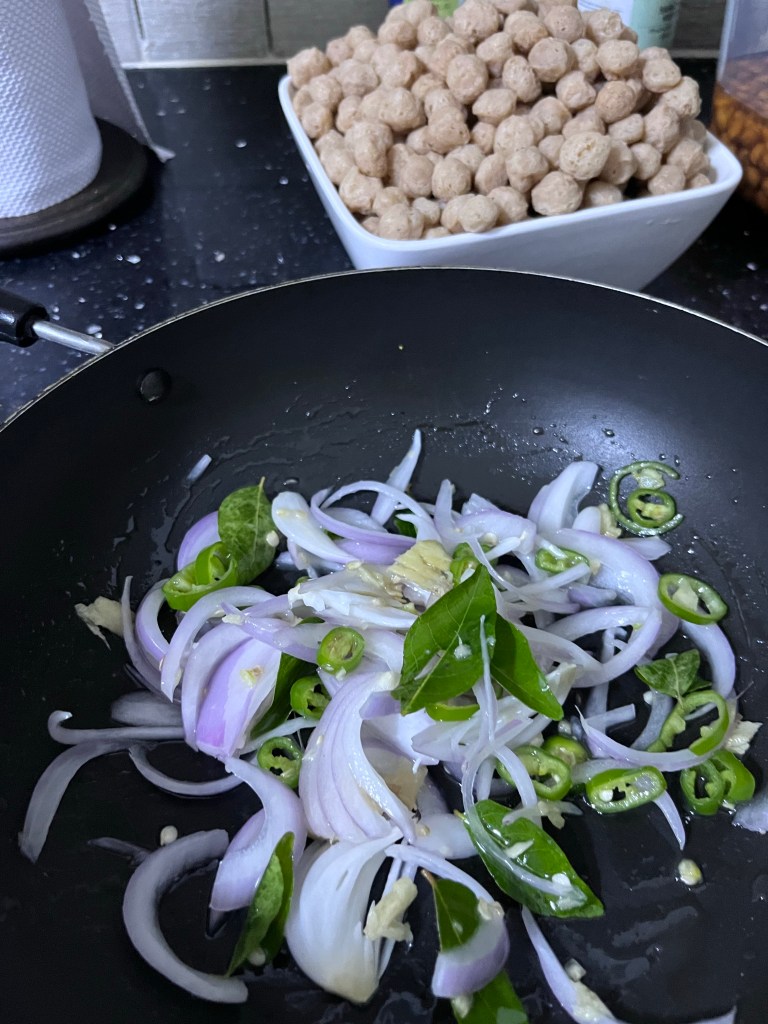
Soya chunks 1 cup
Onions 2 small, one sliced and one chopped
Sprig of curry leaves
Green chillies 2 medium, chopped
Ginger 1” piece, crushed
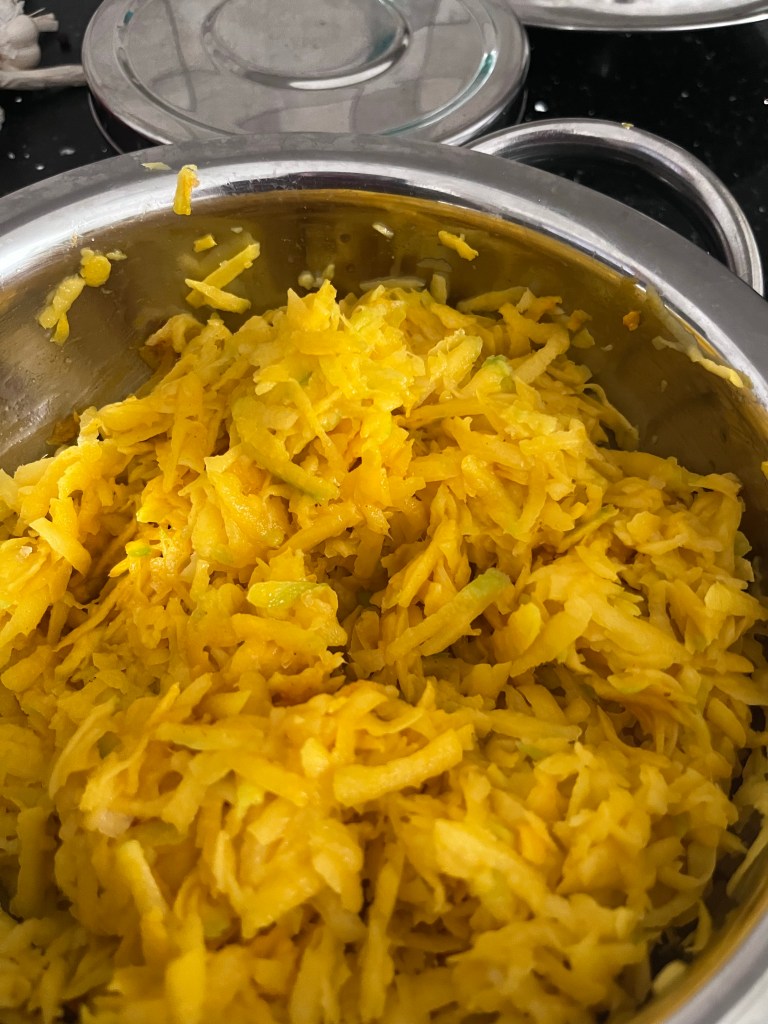
Raw mango 1, chopped with skin
Coconut milk 100 ml
Mustard seeds 1 tsp
Fenugreek seeds 1/2 tsp
Turmeric 1 tsp
Red chilli powder 2 tbsps
Coriander powder 2 tsps
Coconut oil 3 tbsps
Salt to taste
Method
Soak the soya chunks in hot water for 30 minutes.

Squeeze out all the water and transfer to a bowl.

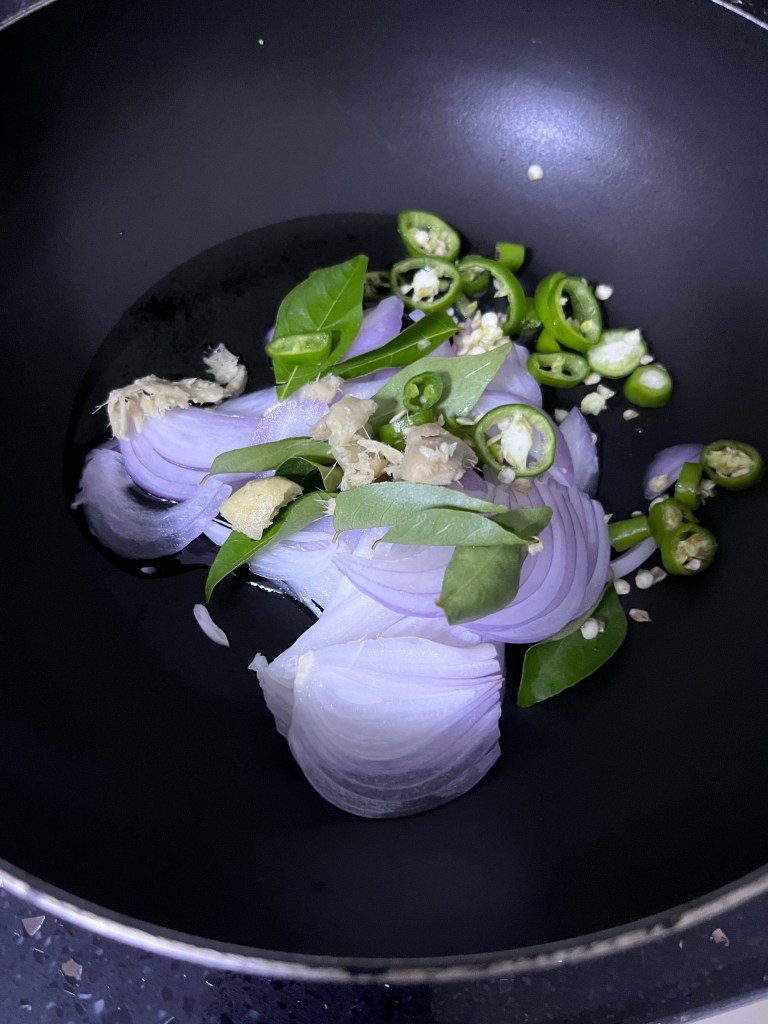
Add 2 tbsps of coconut oil, sliced onions, curry leaves and chopped green chillies to a wok. Add the crushed ginger and mix them well using your fingers.
Add the chopped mango and the spices and mix well.

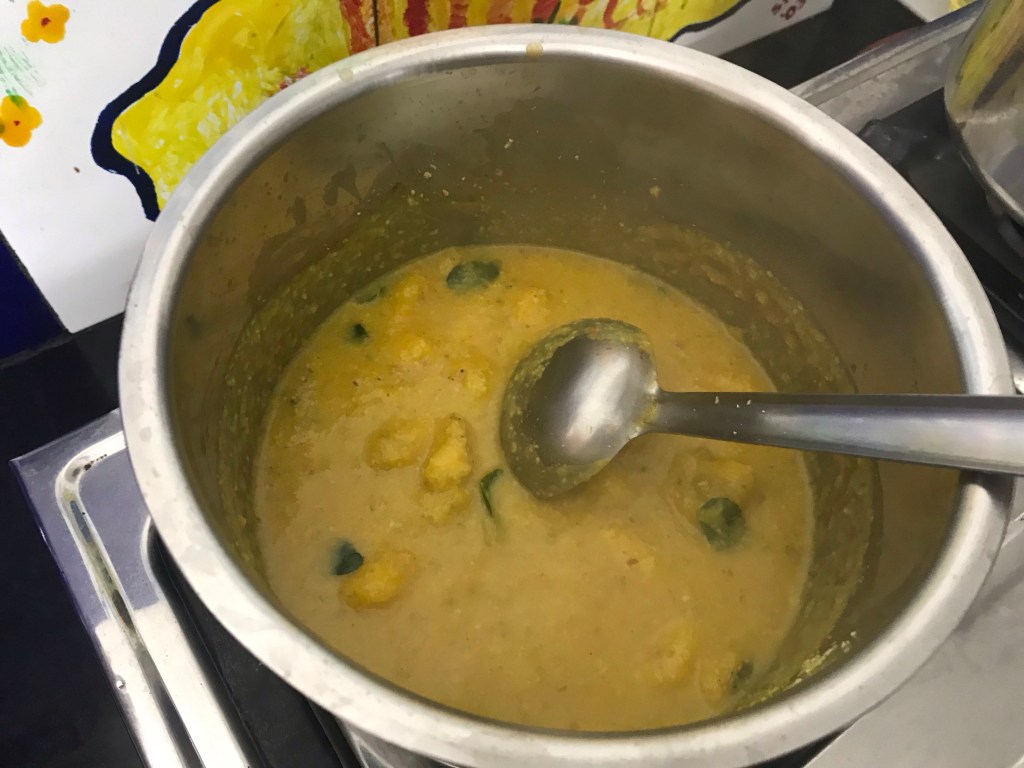
Add two cups of water and 3 tbsps of coconut milk and put it to boil.
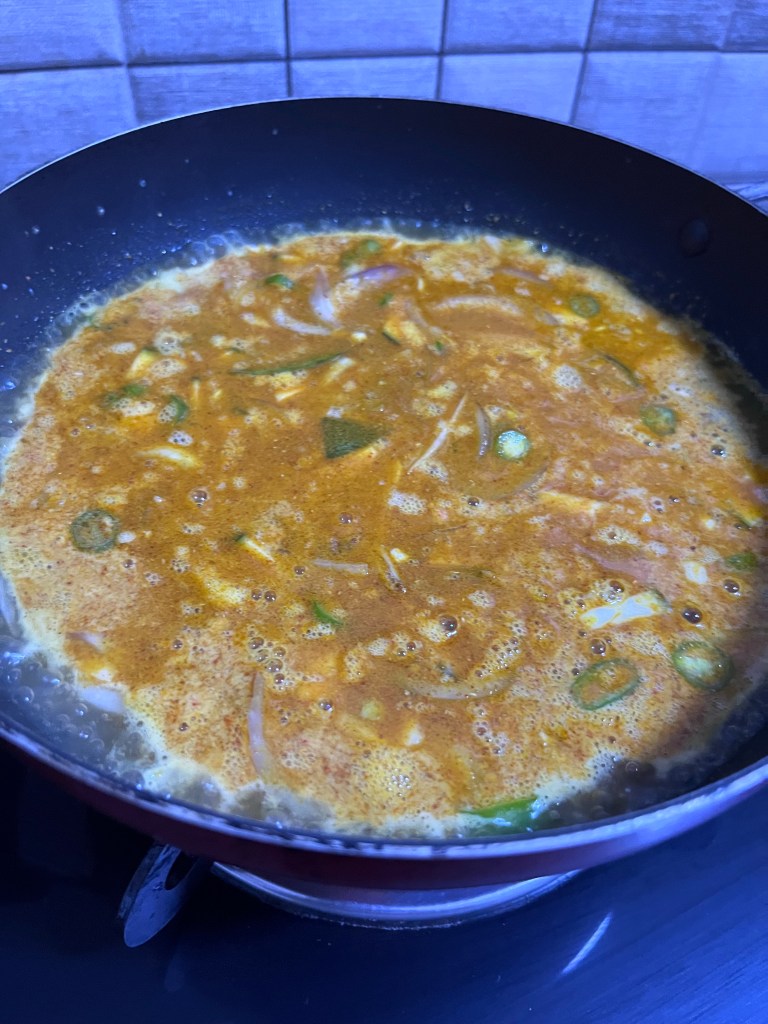
Add the soaked soya chunks and simmer till the mango pieces are completely cooked. It does not take long. If you want the soy chunks less chewy, add them only after the mango pieces are cooked.

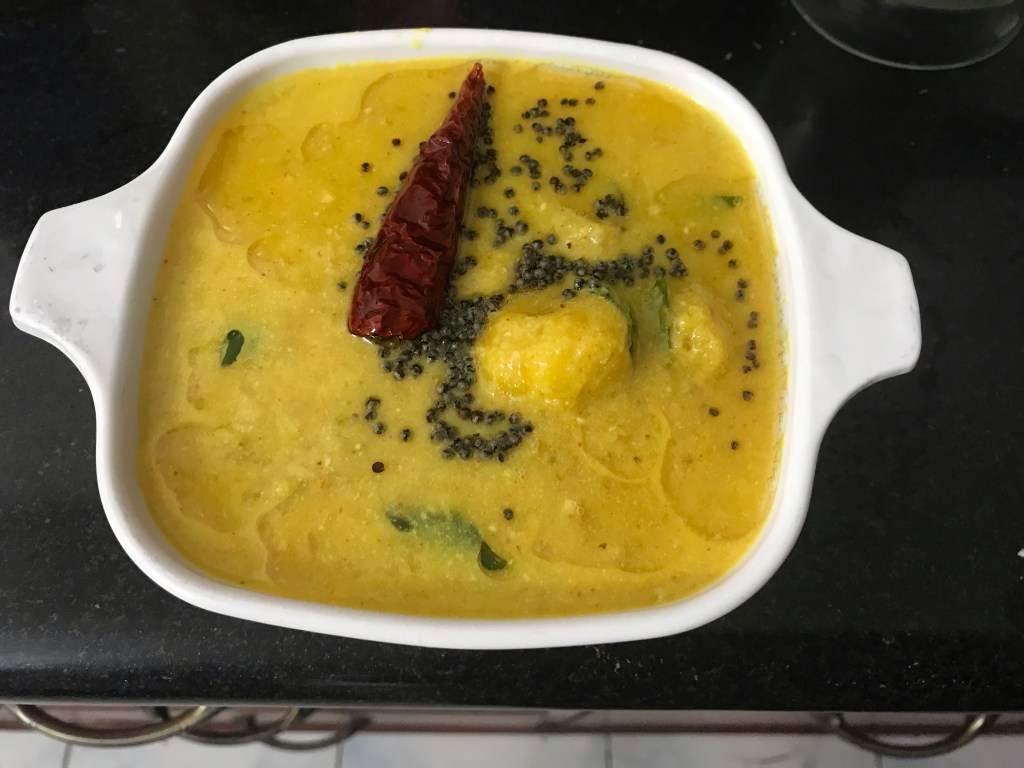
Once the mango pieces are cooked, add the rest of the coconut milk. When it starts to boil, switch off the heat.

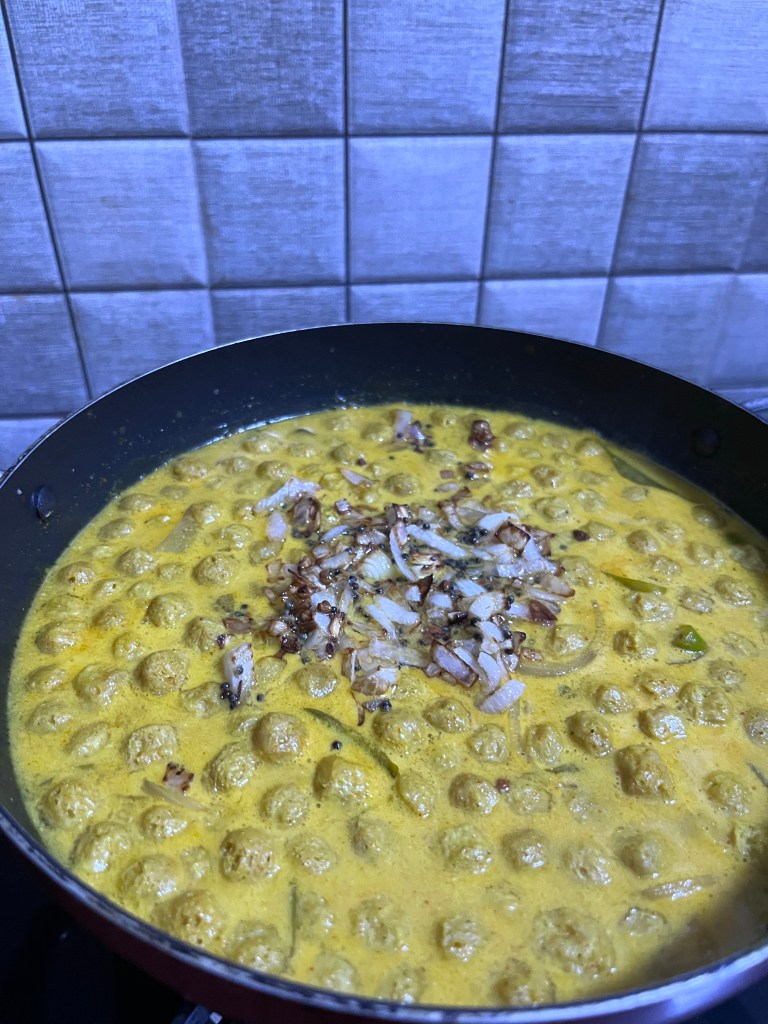
Heat the remaining coconut oil in a frying pan and add the mustard and fenugreek seeds. Add the chopped onions and fry till they turn brown.
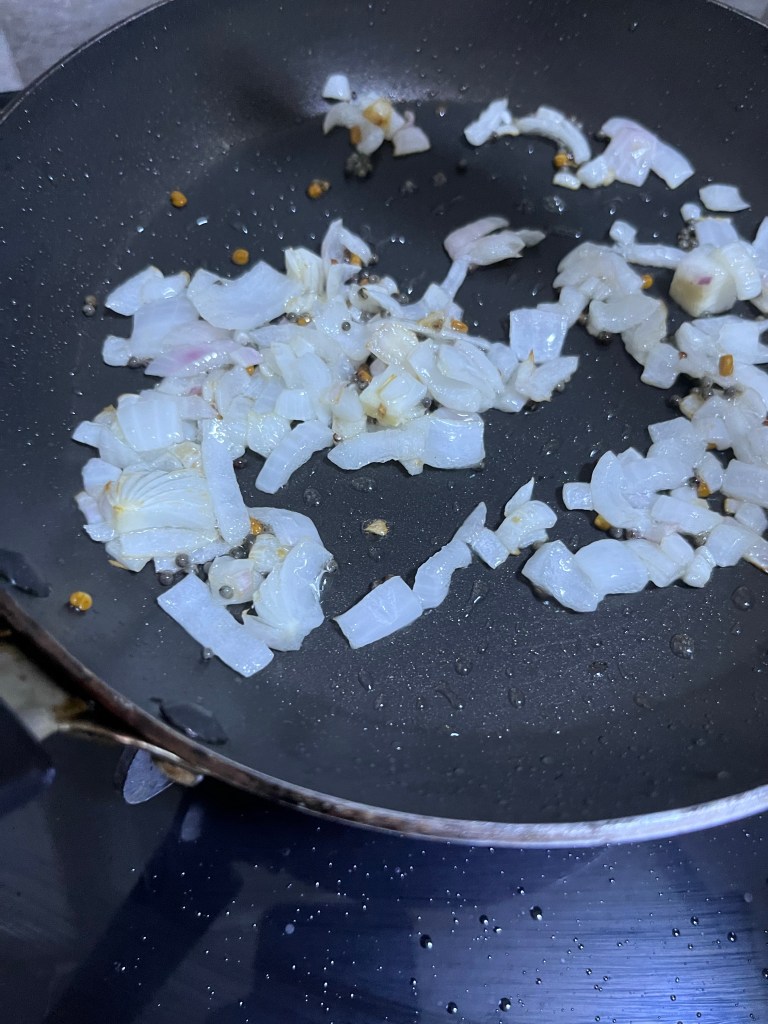

Add the fried onions to the curry.

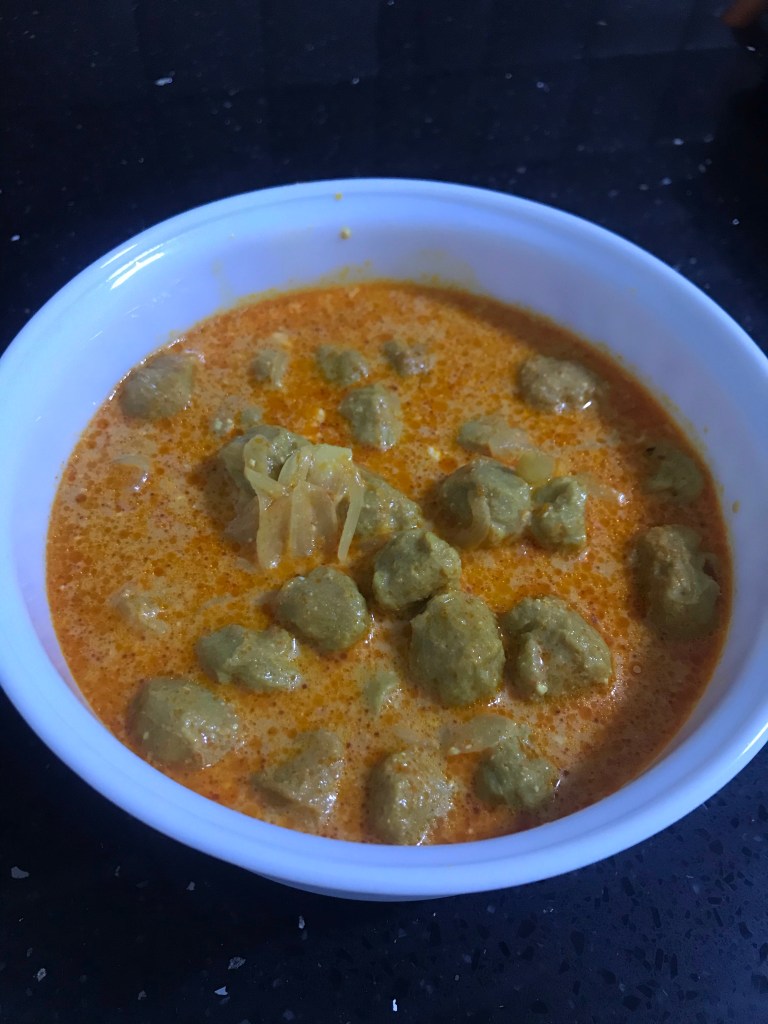
Serve hot with bread or rice.